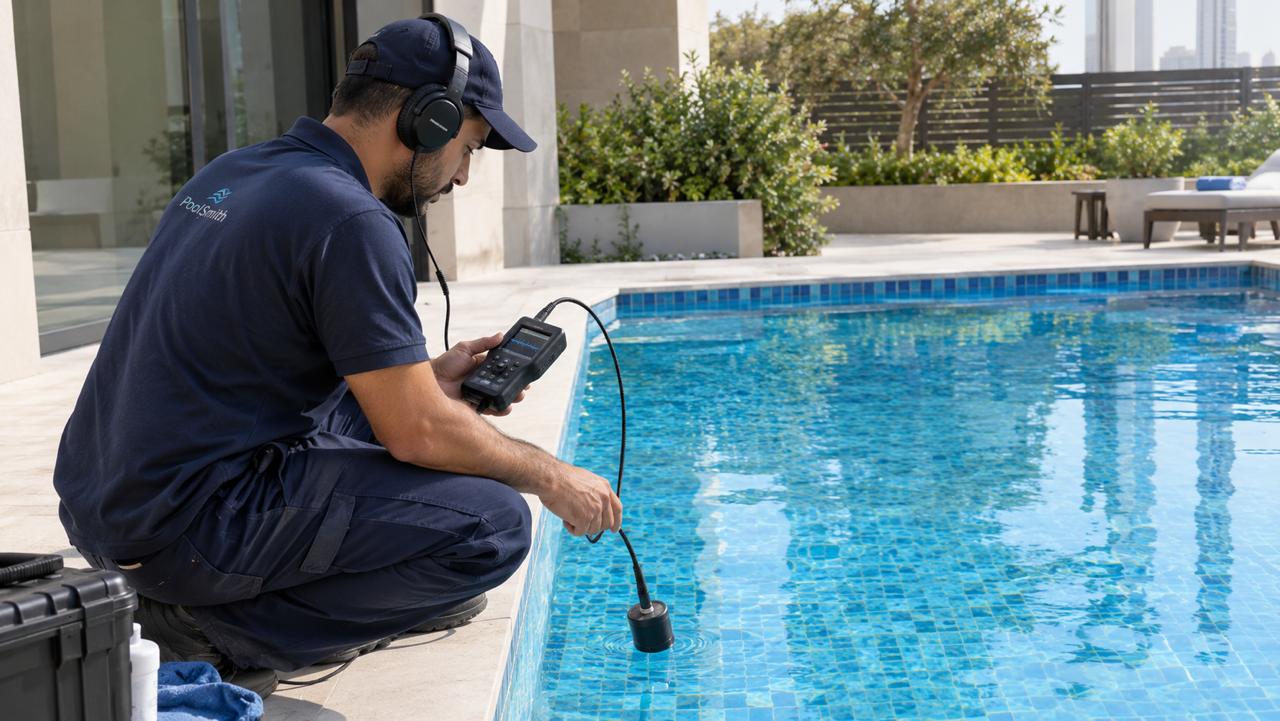
How Pool Leak Detection Experts Find a Leak Without Breaking Tiles
When a villa owner confirms a pool leak, the next fear is usually the same: they are going to have to dig up the garden, break the deck and strip the tiles to find it.
In most cases, they do not. Modern leak detection is built around one idea: find the exact spot first, then open only that spot. A leak that once meant days of guesswork and broken tiles can usually be traced to a single fitting, joint or section of pipe.
If you are not yet sure you have a leak, start with our guide to pool leak warning signs and the bucket test. This article picks up where that one ends: the bucket test tells you whether you have a leak, and detection tells you where.
Step 1: Narrowing It Down Before Any Equipment Comes Out
Good detection starts with observation, and some of the most useful clues cost nothing.
Pump on versus pump off : If the pool loses more water with the pump running, the leak is likely on the pressure side, in the return lines. If it loses more with the pump off, the shell or suction side is more likely.
Where the level stops : A leak often drains the pool down to its own height, then stops. If the level settles at the bottom of the skimmer opening, the skimmer is a prime suspect. If it settles at a light, look there.
The plant room and surroundings : Damp patches, sinking paving and wet soil show where escaping water is going, even if they do not mark the exact source. These steps can cut the search area from the whole pool to one circuit or one fitting before any specialist tool is used.
Heating and cooling decided early : A heater and chiller unit is far easier to design in than to retrofit. It affects plant room size, electrical load and pipework, so deciding after the plant room is built usually means a compromised installation or reopening finished work.
Finish and waterline specification : Specify the internal finish, waterline tile, coping and surrounding paving. Note whether tile is glass, ceramic, porcelain or natural stone, because that determines how it can be cleaned for the life of the pool. Glass tile cannot take the abrasive methods used on ceramic, which matters where waterline scale forms readily.
Step 2: Pressure Testing the Pipework
The pipes running between the pool and the plant room are buried under paving and soil. You cannot see them, which is why pressure testing matters.
The technician plugs each line at both ends, pressurises it, and watches a gauge. A line that holds pressure is sound. A line that loses pressure has a leak somewhere along it. Testing line by line separates skimmer lines, main drain, returns and other circuits, so the problem is isolated to one pipe rather than "somewhere in the plumbing".
Step 3: Dye Testing at the Shell
For the pool structure itself, dye testing is simple and very effective.
With the pump off and the water still, the technician releases a small amount of coloured dye close to a suspected spot: a crack, a light niche, a return fitting, a skimmer joint or a gap in the grout. If there is a leak, the dye is drawn visibly into it. If not, it drifts away. Divers or snorkel work allow this to be done along the floor and walls without draining the pool.
Step 4: Acoustic Listening
Escaping water makes noise, even when the leak is buried.
An underwater hydrophone lets the technician listen at fittings, cracks and drains inside the pool. For buried pipes, a ground microphone is moved along the pipe route above the surface while the line is pressurised. The sound is loudest directly above the leak, which allows a small, precise excavation instead of trenching the whole run.
Step 5: Tracer Gas and Camera Inspection
Some leaks are too small or too deep for listening alone.
With tracer gas, a safe gas is pushed through the isolated line, and a sensitive detector picks it up where it escapes through the soil or paving. A pipe inspection camera can also be fed into accessible lines to show cracks, root intrusion or failed joints directly.
Not every job needs every method. The skill is in choosing the right sequence for the pool and the symptoms.
Why This Avoids Breaking Tiles
Each method narrows the search before anything is opened. By the time repair starts, the target is usually one fitting, one joint or a short section of pipe.
Many shell and fitting leaks can then be sealed underwater with specialist compounds, without draining. Pipe leaks typically need only a small opening above the pinpointed spot. That matters in Dubai, where draining a pool in summer heat carries its own risks for the shell and finishes, and where replacing matched tiles or stone paving is rarely invisible.
Common Leak Points in Villa Pools
In practice, most leaks we investigate turn out to be at penetrations and joints rather than in the shell itself:
- Skimmer body, where it meets the concrete
- Return fittings and main drain
- Light niches and their conduits
- Buried suction and return pipes
- Plant room unions, valves and pump seals
- Grout and waterproofing at the waterline
That is good news. Leaks in these places are usually contained, repairable and far cheaper than structural work, provided they are found early.
Why Acting Early Matters
A small leak rarely stays small. Water moving through a defect gradually widens it, and water escaping beside or under the pool washes out supporting material. Over time, a fitting repair can become a cracked deck or a settling shell.
If the bucket test or rising water bills point to a leak, book professional leak detection promptly. If the detection finds wider issues such as failing grout or old finishes, a targeted renovation may be worth considering at the same time.
Frequently Asked Questions
No. Most detection is done with the pool full, since dye testing and acoustic methods rely on the water being in place.
A typical villa pool investigation often takes a few hours, but it depends on the pool, the number of circuits and how hard the leak is to isolate.
Usually not. Many shell and fitting leaks are sealed from inside the pool. Pipe leaks typically need only a small, targeted opening above the exact spot.
Yes. Pressure testing confirms which line is leaking, then acoustic listening or tracer gas pinpoints the location along it.
You can try it at an obvious crack, with the pump off and still water. It cannot check buried pipework, so a professional test is needed when the source is not visible.
It depends on the pool, the suspected leak type and how much investigation is needed. Contact us with details of what you are observing for a quotation.


